this is a easy-to-follow guide on how to get building, just follow the steps, and you're golden.
Step 1: Pick Your Parts
These are the components you'll need:
- CPU (Processor)
- The brains of the operation.
- Motherboard
- The central hub where everything communicates.
- RAM (Memory)
- Temporary memory that helps with multitasking.
- Storage (SSD/HDD)
- this is where your files and programs are stored.
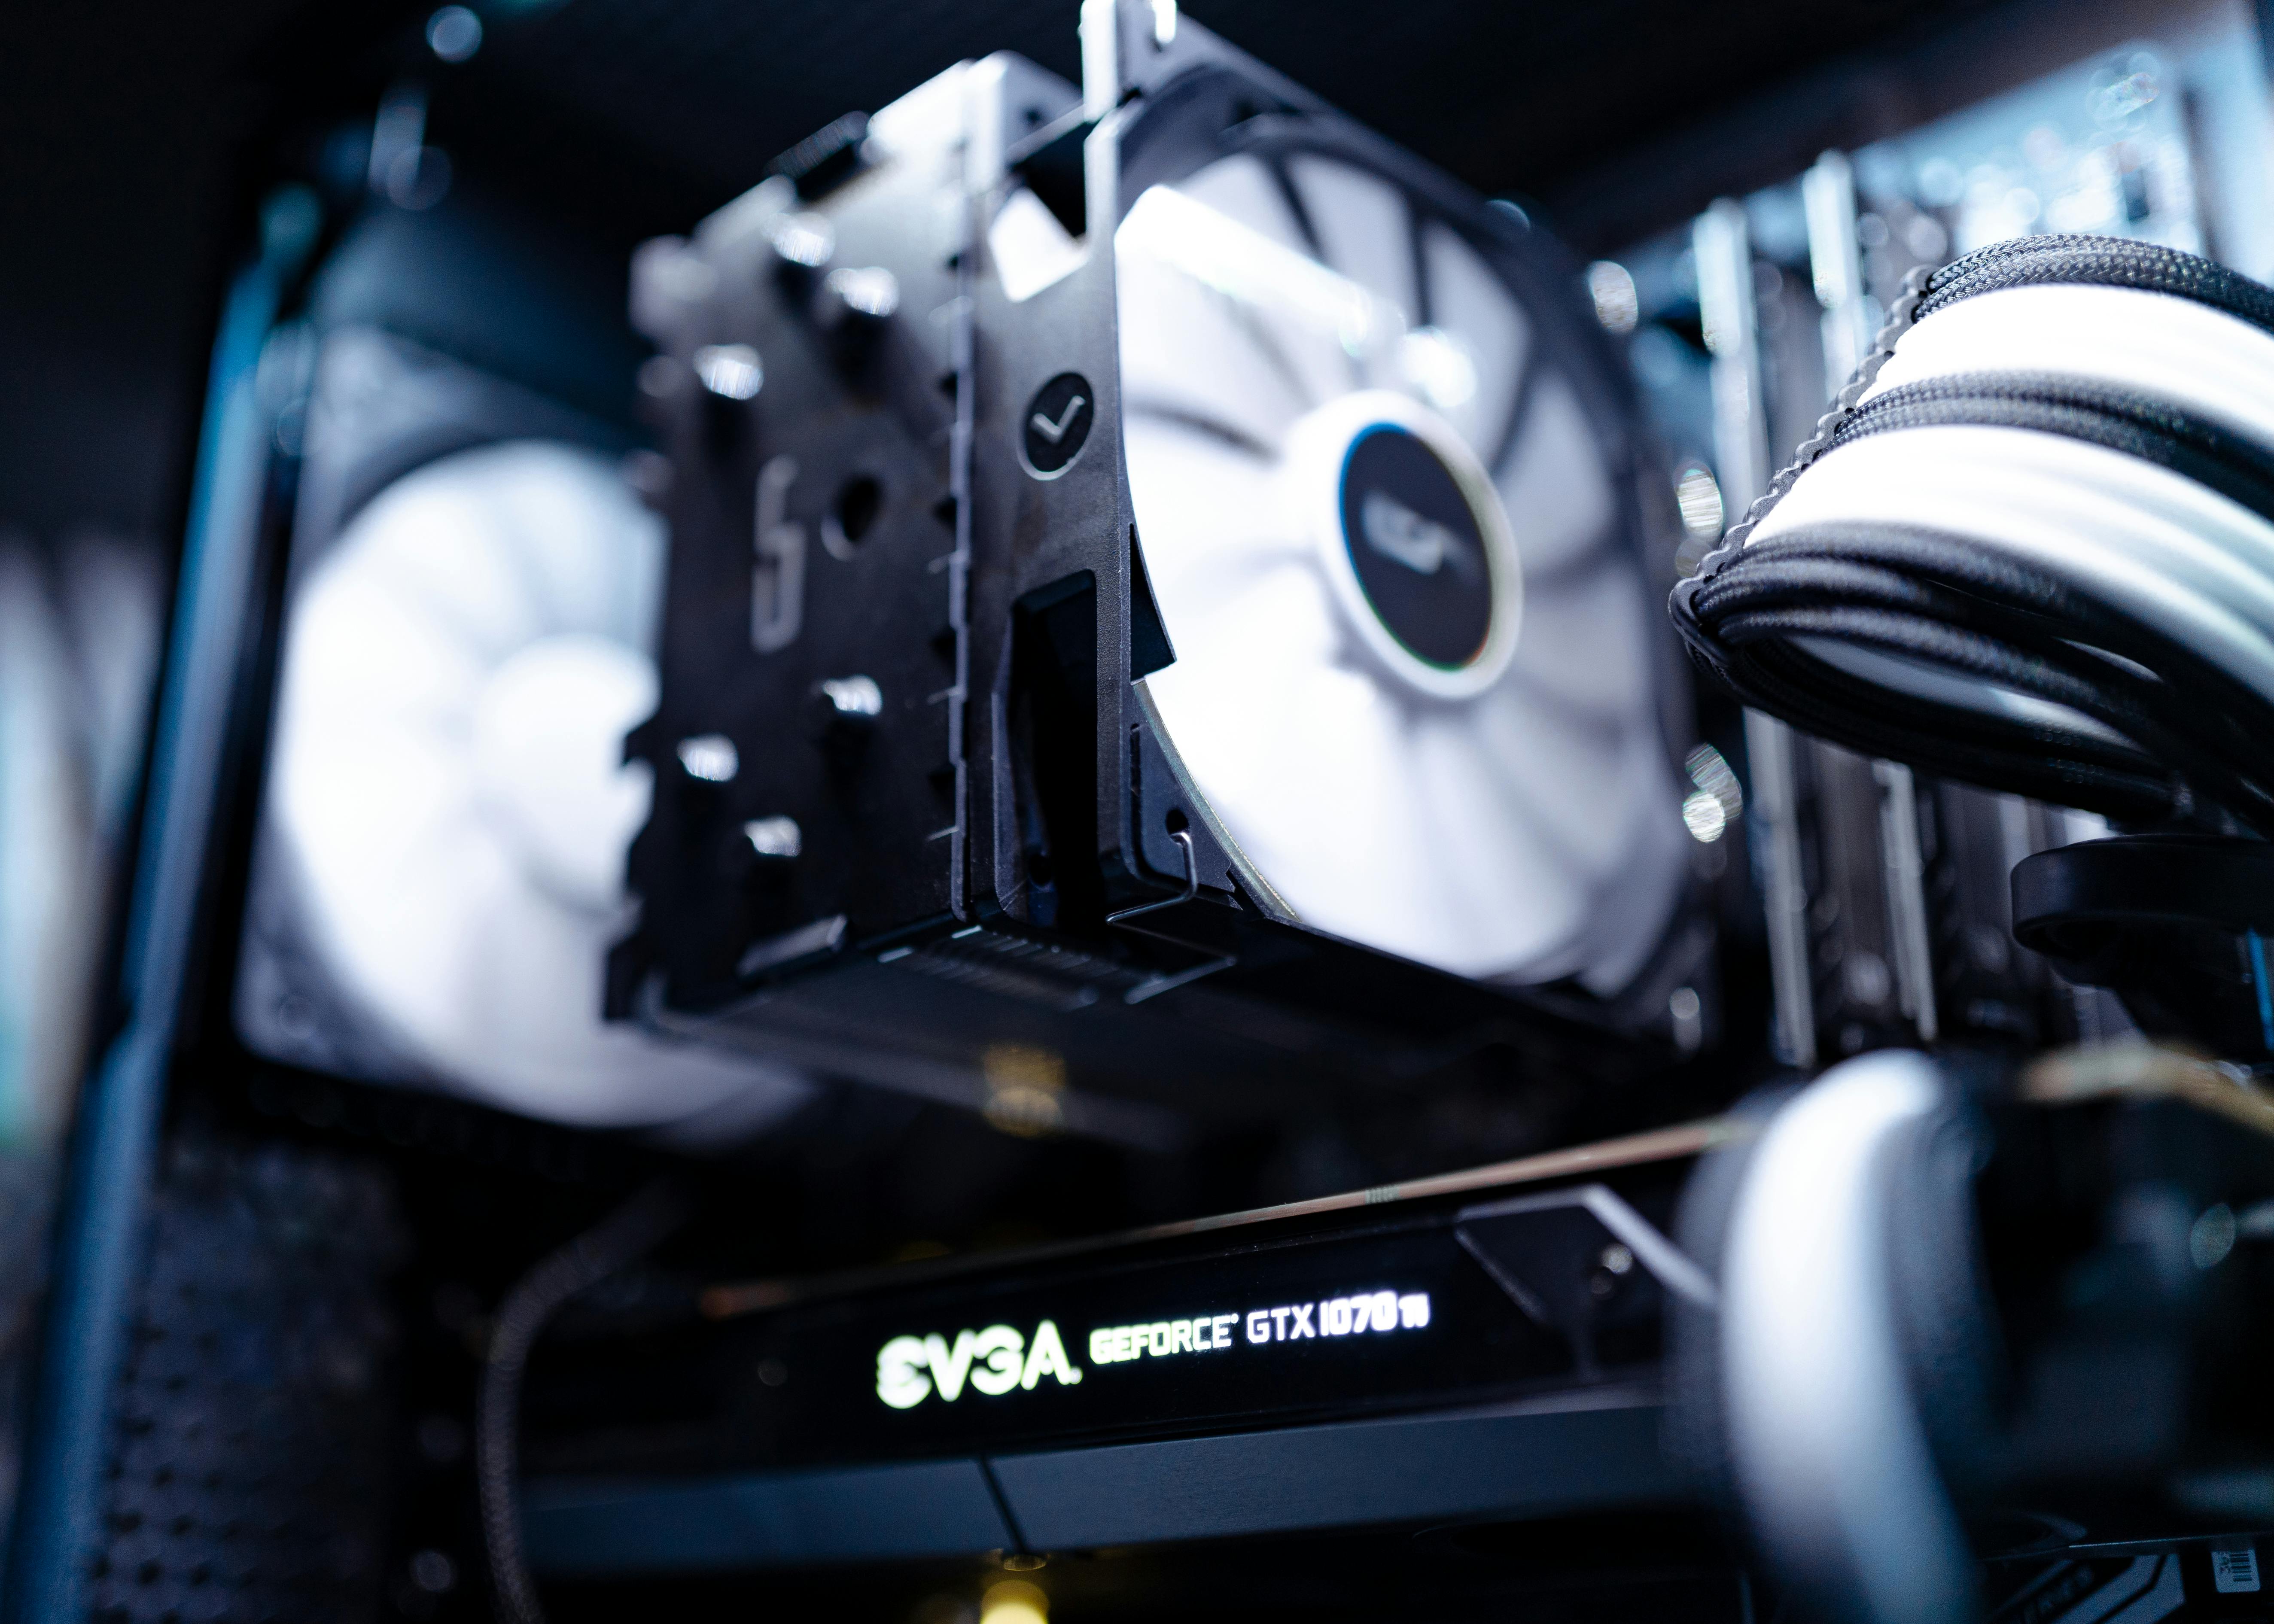
- GPU (Graphics Card)
- The eyes; displays what is currently on screen.
- Power Supply (PSU)
- Provides power to everything.
- Case
- Holds everything together.
- Operating System
- The software that runs everything (Windows/Linux).
Quick Tips
-
Check Compatibility First
Use tools like PCPartPicker to ensure all your parts work together.
-
Keep Track of Screws
Use small containers or bowls to organize screws and standoffs during your build.
-
Avoid Static Damage
Always ground yourself before touching components — a simple anti-static wristband helps.
-
Cable Management Matters
Tidy cables not only look better but also improve airflow and cooling.
-
Don’t Force Anything
If a part doesn't fit easily, double-check orientation or compatibility — never push too hard.
Step 2: Prepare Your Workspace
Set up a clean, static-free space. Make sure you ground yourself by touching metal before handling sensitive parts.
Step 3: Assemble the PC
- Install the CPU onto the motherboard.
- Pull the lever down until the CPU is securely locked in.
- Apply a pea-sized amount of thermal paste to the CPU.
- Attach the CPU cooler on top.
- Click the RAM into their slots.
- Install the PSU into the case.
- Place the motherboard inside the case.
- Install storage and your GPU.
- Connect all cables and double-check connections.